
Getting a clean bevel cut on a piece of wood is not a matter of chance. The result depends as much on the technique as on the preparation beforehand: choice of blade, marking, holding the piece, adjusting the angle. Each poorly mastered step results in a visible gap in the final assembly, sometimes by several millimeters, enough to ruin a frame or a miter joint.
Mechanical play and squareness issues: why the miter saw often fails at 45°
Feedback from DIY enthusiasts converges on a recurring problem: a miter saw set to 45° does not always cut at 45°. This phenomenon is explained by the mechanical play of the radial arm and slight squareness defects that accumulate with use.
On consumer models, the angle stop is rarely perfect out of the factory. The 45° notch may have a tiny gap, but this gap multiplies when two beveled pieces need to meet. Two cuts offset by half a degree each produce a gap of one degree at the assembly.
Checking squareness before each series of cuts remains the only reliable remedy. Place a precision square against the blade (motor off, blade stationary) and check the actual angle. If you spot a gap, adjust the stop’s calibration screw or manually compensate for the angle on the graduated dial.
To master the basics and understand how to cut a board at an angle with different tools, adjusting the squareness is the first skill to acquire, well before the cutting technique itself.
Pencil marking and improvised templates: techniques that change precision
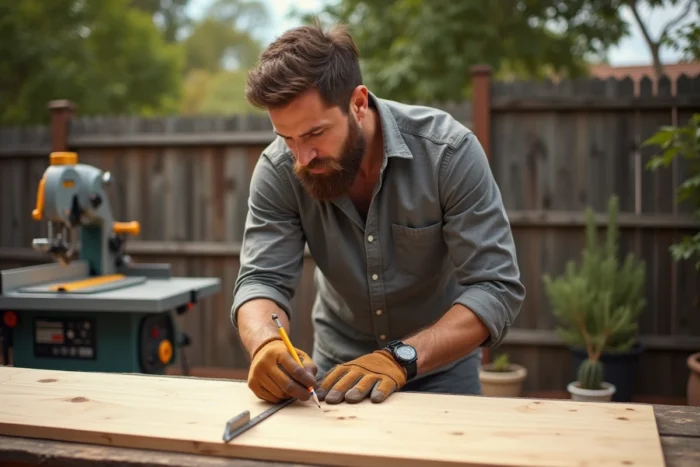
Marking sets the stage for everything. A blurry, too thick, or poorly positioned cut line leads to a misalignment that the blade will not correct. Two simple principles significantly improve precision.
The pencil line: on the waste side, not the piece side
Draw your line using a well-sharpened pencil (the tip of a standard carpenter’s pencil produces a wide line). Place the blade on the waste side, which is the part you will discard. The blade consumes the line, not the useful piece. If you cut on the line or on the piece side, you systematically remove the thickness of the blade passage from your final piece.
An MDF template to repeat an angle
When you need to reproduce the same angle on several boards (moldings, frames, baseboards), cut a template from a scrap of MDF. Secure it with clamps to the piece to be cut. This physical guide eliminates the approximation of marking with each new piece.
- Use thin, rigid MDF with straight edges so that the template does not deform under the pressure of the clamps.
- Mark the template with the exact angle and cutting direction to avoid any inversion from one piece to another.
- Check the template with a digital angle finder if you are aiming for an angle different from 45°.
Field feedback varies on the durability of these templates: some DIYers reuse them on dozens of pieces, while others notice wear on the guiding edge after a few cuts with the circular saw. Replace the template as soon as its edge shows chipping.
Bevel cutting with a circular saw: blade settings and guidance
The circular saw remains the most common tool for bevel cuts on wide boards. However, it requires precise adjustments of two parameters that work together: cutting depth and base tilt.
Set the blade depth so that it extends half a tooth below the board. Too much depth increases vibrations and chipping on the underside. Not enough, and the cut does not go all the way through, forcing you to push at the end of the pass.
The tilt is adjusted via the base tilting lever. Tighten the lock fully once the angle is chosen. Insufficient locking allows the base to move during the cut, resulting in a variable angle along the length of the board.
Choosing the blade to limit chipping on bevel cuts
On a straight cut, chipping remains discreet. On a bevel cut, the wood fibers are attacked at an angle, which amplifies tearing. Two levers reduce this defect:
- Choose a blade with a high tooth count (finishing blades have significantly more teeth than fast cutting blades). The more teeth there are, the smoother the cut.
- Place the visible face of the board down if your saw cuts upwards, or up if it cuts downwards. Chipping occurs on the exit face of the blade.
- Apply masking tape along the cut line. The tape holds the surface fibers and limits tearing, especially on soft woods like pine or spruce.
Holding the piece and safety during a bevel cut
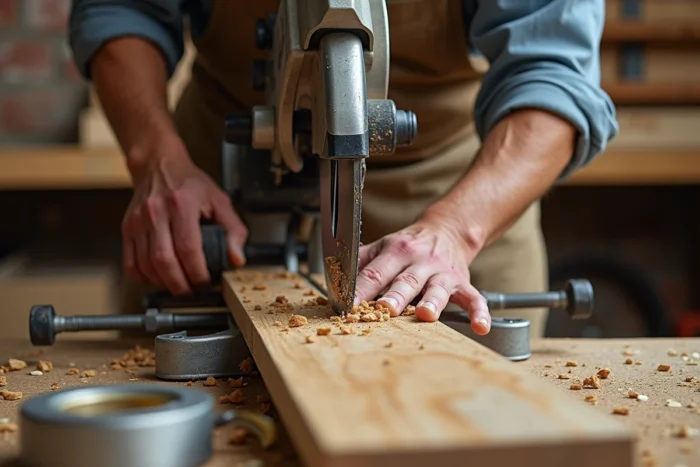
A board that slips during a bevel cut does not just produce a failed result. It creates a direct risk of the saw kicking back or the blade getting stuck. Clamping the piece is a step of safety as much as of precision.
Secure the board with at least two clamps, one on each side of the cut line. If the piece is long, add a support under the free end to prevent it from bending at the end of the cut. Bending alters the angle of the blade relative to the wood and produces a curved cut.
On a miter saw, the left hand holds the piece against the vertical guide. Never place it in the path of the blade’s descent. Keep your fingers at least ten centimeters away from the cutting path.
The DIY sector is seeing increased attention to safety training, including for individuals. Online cutting advice rarely addresses this aspect, while most domestic accidents related to saws occur during angled cuts, when the piece is less stable than in straight cuts.
Before starting the saw, check three points: the tightness of the clamps, the locking of the tilt angle, and the position of your hands. A successful bevel cut is as much about preparation as it is about execution.